Why is the pull-up considered such a difficult milestone?
The pull-up is uniquely challenging because it requires the body to move its entire mass against gravity using only upper-body strength. Unlike many machines that isolate specific muscles, a successful pull-up demands a high level of neuromuscular coordination. The primary movers are the back muscles (latissimus dorsi) and the biceps, but the exercise cannot be completed effectively without secondary support.
To execute the movement, several physiological components must work in unison:
- Grip Strength: The hands must maintain a secure hold on the bar to prevent slipping before the pull begins.
- Scapular Control: The shoulder blades must be able to move and stabilize to provide a solid foundation for the arms.
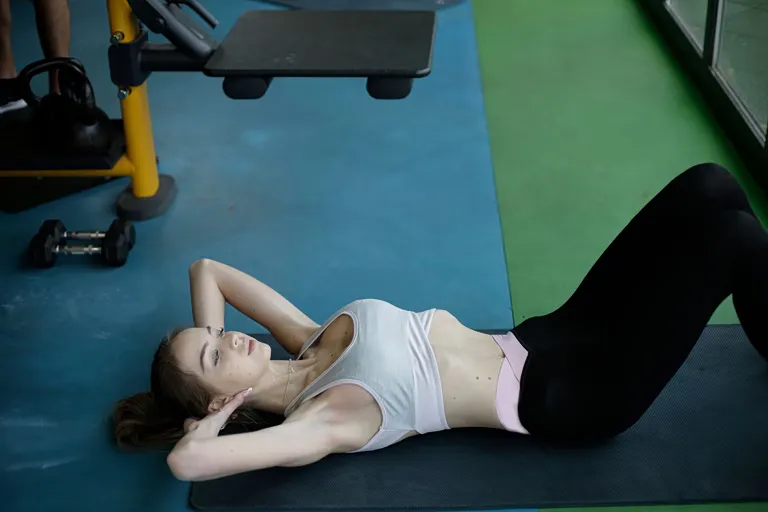
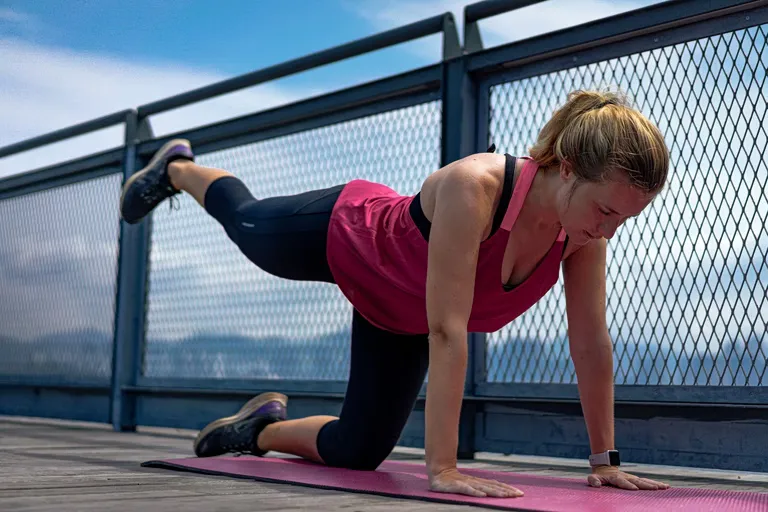
- Core Stability: The abdominal and lower back muscles must prevent the body from swinging or rotating excessively.
Because these elements are so interdependent, many trainees fail not because they lack raw strength, but because they lack the stability to apply that strength effectively.
How can you begin with basic bar familiarity?
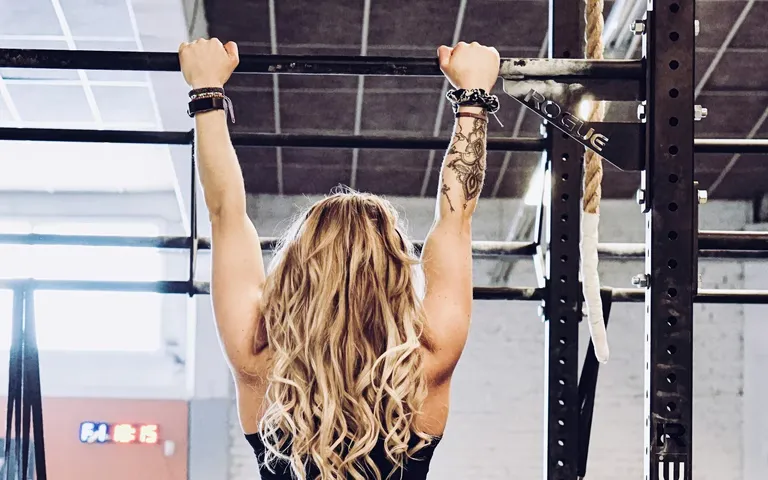
Initial stages of pull-up training should focus on building comfort with the bar through dead hangs and scapular engagement. Before attempting to pull the body upward, a trainee must first be able to support their own weight for a sustained period. This builds the necessary tendon strength and grip endurance required for more intense sessions.
A practical starting point involves performing short hangs from a stable, well-secured bar. Aim to maintain a firm grip for 10 to 20 seconds, provided there is no pain. If the weight feels too heavy initially, you can use a step stool to support a portion of your weight with your feet, allowing you to adapt to the sensation of hanging.
Developing scapular awareness
Once basic hanging is mastered, the next step is practicing small, controlled movements known as scapular pulls. With the arms kept straight, attempt to move the shoulders away from the ears by depressing the shoulder blades. This movement initiates the pull and teaches the body how to engage the back muscles without relying solely on the biceps. Mastering this "active hang" is a prerequisite for any successful pull-up attempt.
What role do assisted exercises play in building strength?
Assisted training methods are essential tools for bridging the gap between hanging and a full repetition. These methods allow you to practice the specific movement pattern of the pull-up while reducing the total load your muscles must overcome. By using external help, you can focus on technique and muscle recruitment without the frustration of total failure.
Two primary methods are widely used in modern strength conditioning:
- Lat Pulldown Machines: These allow you to sit and pull a weighted bar toward your chest. This mimics the vertical pulling motion of a pull-up, helping to build the latissimus dorsi and biceps in a controlled environment. To be effective, the weight should be heavy enough to challenge you but light enough to ensure a smooth, rhythmic motion without excessive momentum.
- Assisted Pull-up Machines: These machines use a platform or straps to support a percentage of your body weight. As your strength increases, you can gradually reduce the level of assistance. This provides a direct transition to the unassisted version of the exercise.
Using a stability bar or similar equipment can also help train the core to remain rigid during the pull, preventing the common mistake of swinging the legs to gain momentum.
How do negative pull-ups accelerate progress?
Negative pull-ups, also known as eccentric training, focus on the lowering phase of the movement rather than the lifting phase. Research in strength training suggests that muscles can often handle more load during the eccentric (lowering) phase than the concentric (lifting) phase. By leveraging this, you can train the specific muscles used in a pull-up even before you can perform a full repetition.
To perform a negative pull-up, you must first reach the top position. This can be achieved by using a step stool or having a trainer assist you in jumping or being lifted until your chin is above the bar. Once in this high position, the goal is to lower yourself as slowly and controlled as possible until your arms are fully extended.
Monitoring intensity and safety
Because eccentric movements place high tension on the muscles and tendons, they must be approached with caution. If you find that you are dropping too quickly or losing control of the descent, it is a sign that you require more assistance or a lighter load. It is vital to stop the exercise immediately if you experience sharp pain in the shoulders or elbows. Consistency is more important than intensity; performing a few high-quality negatives is far more beneficial than many uncontrolled drops.
When are you ready to attempt your first unassisted pull-up?
Readiness for a full pull-up is indicated by a combination of hanging endurance, controlled eccentric lowering, and the ability to move through the range of motion with assistance. While there is no single metric, being able to hold a stable position at the top of a negative pull-up is a strong sign of progress. When you decide to test your ability, follow a structured approach to minimize injury risk.
The recommended technique for the first attempt involves the following steps:
- Grip Setup: Place your palms facing away from your face (overhand grip) with hands slightly wider than shoulder-width apart.
- Core Engagement: Tighten your midsection to prevent the body from arching or swinging.
- The Pull: Drive your elbows down toward your sides rather than trying to pull your chin over the bar with your neck. Avoid straining the neck to clear the bar, as this can lead to injury.
- The Descent: Lower yourself with control rather than letting gravity take over.
To ensure long-term progress, integrate these training elements two to three times per week. It is crucial to allow at least one full day of rest between sessions to permit muscle recovery. If you have a history of shoulder or elbow injuries, or if you experience persistent pain during training, seek professional medical advice before continuing your progression.
Key takeaways
- Pull-up training requires a combination of grip strength, scapular control, and core stability.
- Begin with dead hangs and scapular pulls to build foundational muscle endurance.
- Use assisted machines and lat pulldowns to practice the movement pattern under lower loads.
- Incorporate negative pull-ups to exploit eccentric strength for faster progression.
- Train two to three times weekly with adequate rest to prevent injury.
FAQ: Pull-up training
How long does it take to do the first pull-up?
The timeline varies significantly depending on individual strength, body weight, and training consistency. It may take several weeks for some, while others may require several months of dedicated progression through assisted movements and eccentric training to achieve their first successful unassisted repetition.
Can I do pull-ups every day?
It is generally not recommended to perform intense pull-up training every day. Muscles require time to repair and grow. A schedule of two to three sessions per week, with at least one full day of rest between workouts, is typically more effective for building strength.
What should I do if I feel pain in my elbows?
If you experience sharp or persistent pain in your elbows or shoulders, you should stop the exercise immediately. Pain is a signal of potential injury or overtraining. Consult a fitness professional or a doctor to ensure you are not causing long-term damage to your tendons.
Is a wide grip better for pull-ups?
A grip that is slightly wider than shoulder-width is generally considered standard. While a wider grip can emphasize the latissimus dorsi, an excessively wide grip can increase stress on the shoulder joints and may actually limit your range of motion and strength.
Why am I not getting stronger with assisted pull-ups?
Stagnation often occurs if the resistance is not being adjusted correctly or if form is being sacrificed for ease. Ensure you are gradually reducing the assistance as you get stronger and focus on maintaining a stable core to ensure the muscles are doing the work.
Conclusion
Mastering the pull-up is a journey of incremental gains rather than an overnight achievement. By shifting the focus from the end goal to the foundational components—grip strength, scapular stability, and eccentric control—you create a sustainable path toward success. Utilizing a variety of tools, such as assisted machines and negative repetitions, allows for continuous stimulus without the risk of burnout or injury. Patience and adherence to a structured, rest-inclusive program are the most reliable predictors of progress. With consistent effort, the transition from hanging on the bar to pulling your body upward becomes an inevitable reality.